![]()
Steps to Migrate Mailboxes from Exchange EDB File to Live Exchange Server Mailbox Account
This segment aims to provide complete migration process of Exchange Mailboxes to Live Exchange along with screenshots.
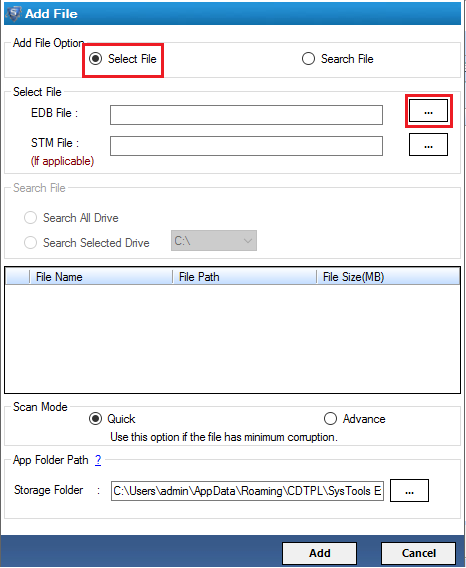
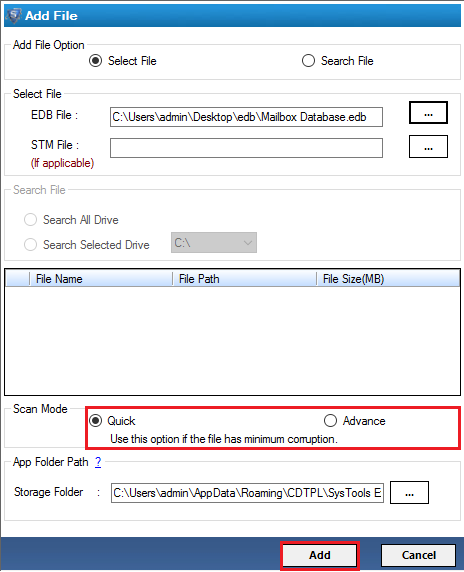
Step 1: Run the software and Press the "ADD File" option from the menu bar.

Step 2: Browse EDB file from the drive
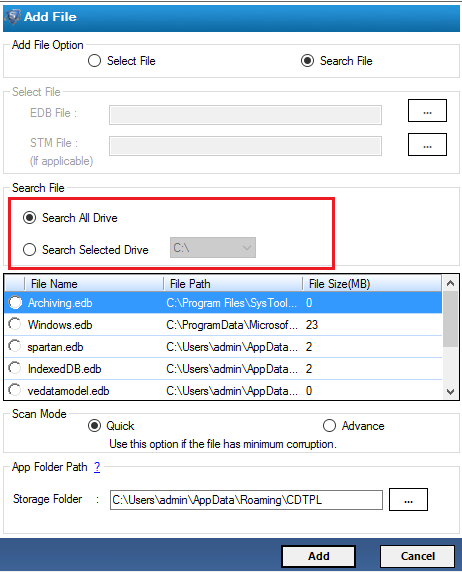
Step 3: If you do not remember the location of EDB file then choose "Search File" option from the "Add File option".
Under the "Search File" option you get the two types of searching such as "All Drive" and "Selected drive"
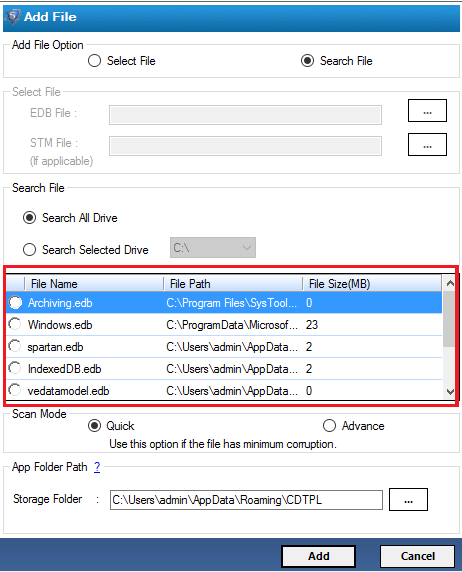
Step 4: Now software starts the searching task, after completing the searching task tool display the list of all EDB files. From the list you can select particular EDB file which you want to recover.
Step 5: Once you browse the file, then choose recovery type, tool gives dual recovery option i.e. Quick and Advance.
Note: Choose "Advance" recovery option if EDB file is severely damaged.
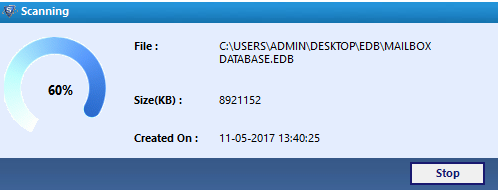
Step 6: This Pop-UP window shows the scanning process.
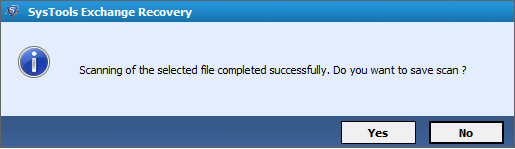
Step 7: Coming up window shows the scanning task is done and also allow to save scanned EDB file.
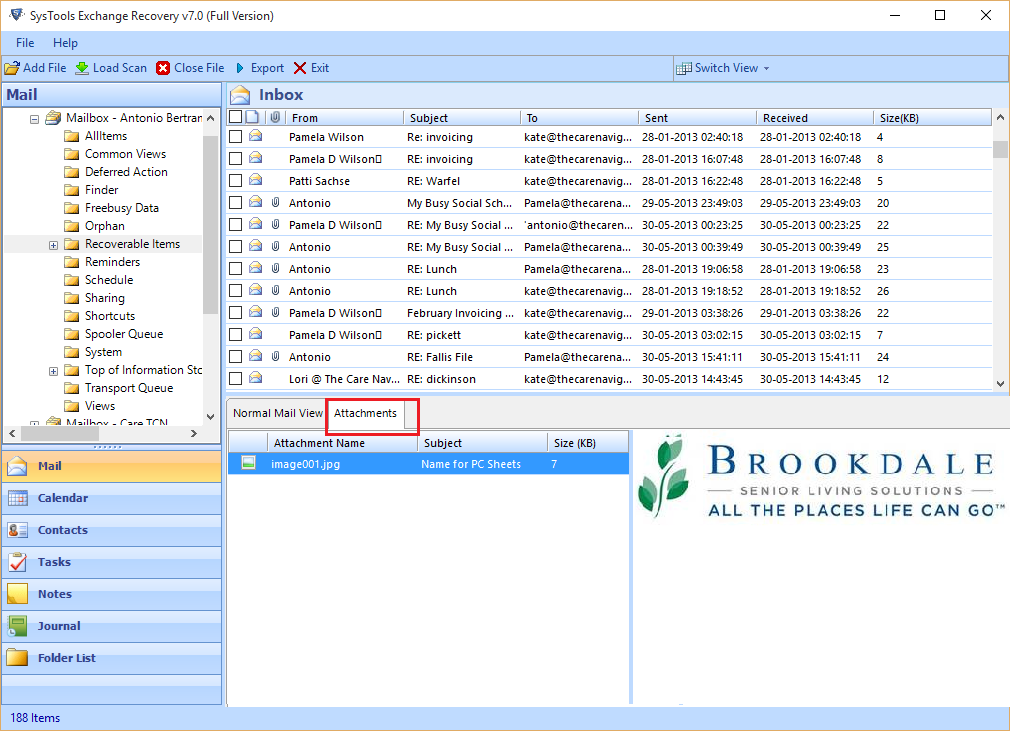
Step 8: After completing the recovery task tool provides the recovered mailbox database preview. Click on "+" and explore the mailbox database. The tool gives the Normal and Attachment view option, Normal view shows the email details.
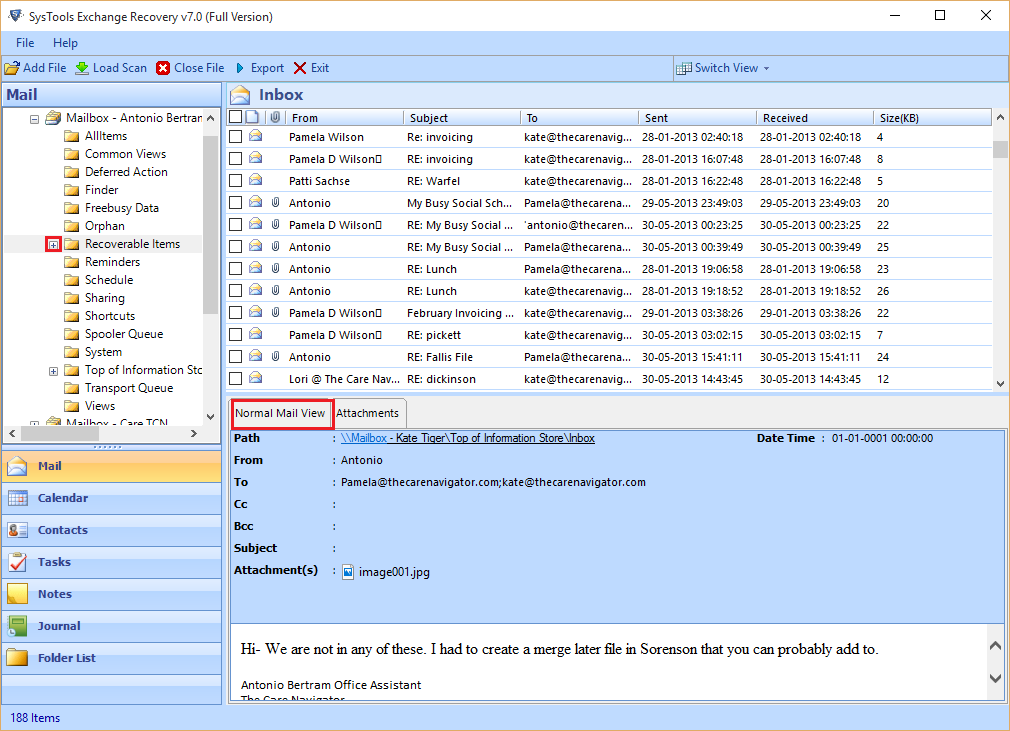
Attachment view option show attachment preview
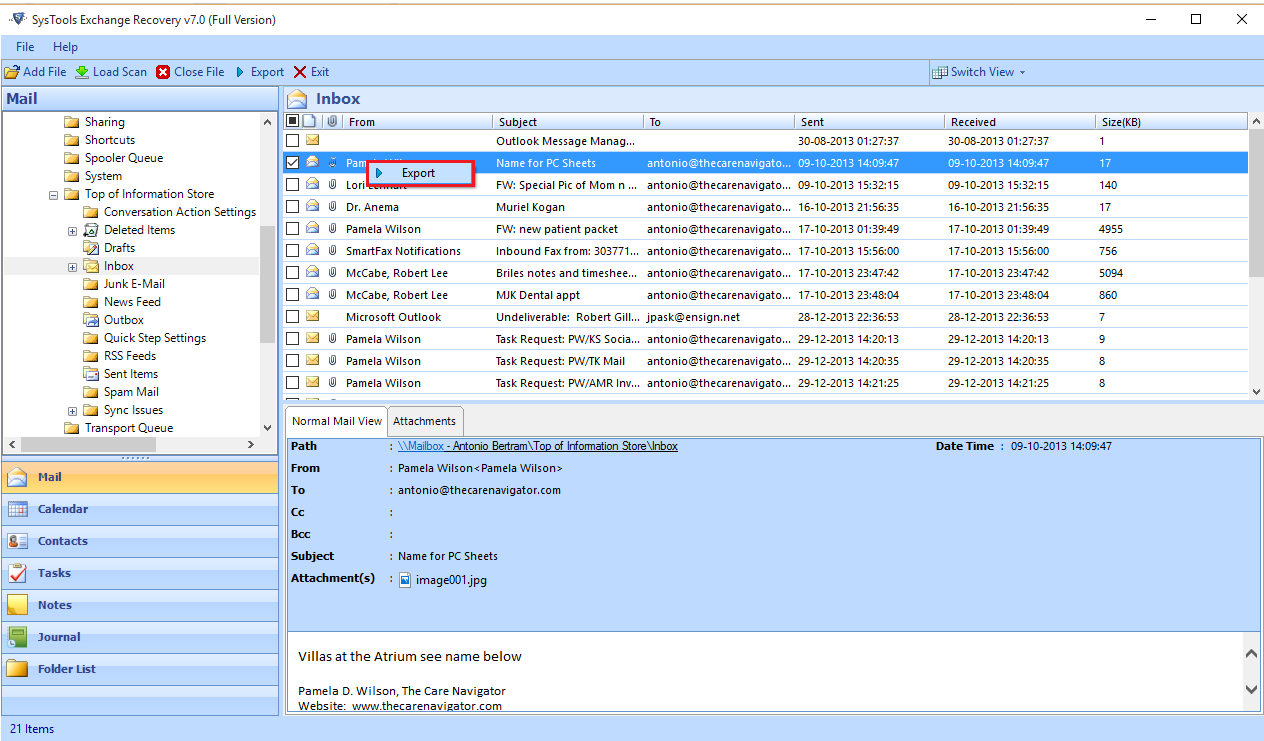
Step 9: Choose particular an email which you want to export into Live Exchange server mailbox account, right click on selected emails and hit on.
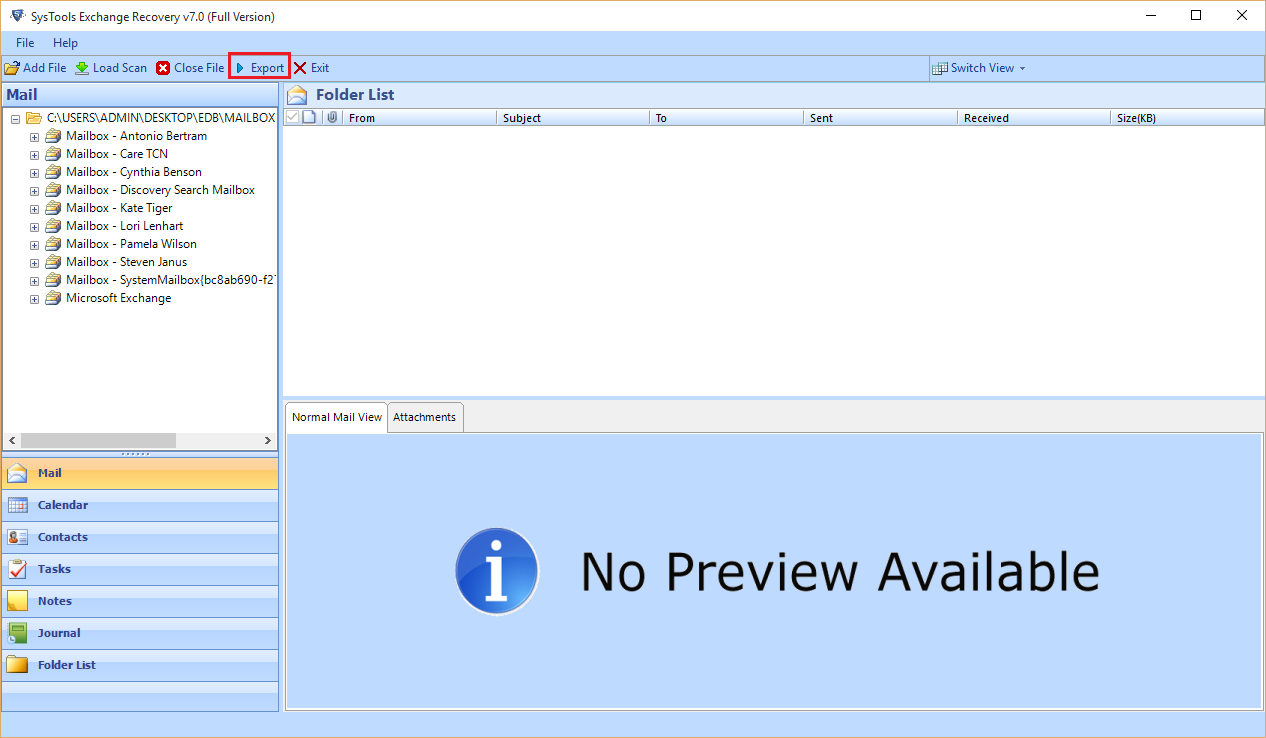
Step 10: Select "Export" option from the menu bar if you want to migrate all mailbox data into Live Exchange server.
Step 11: Select "Live Exchange"option from the Export file list options.
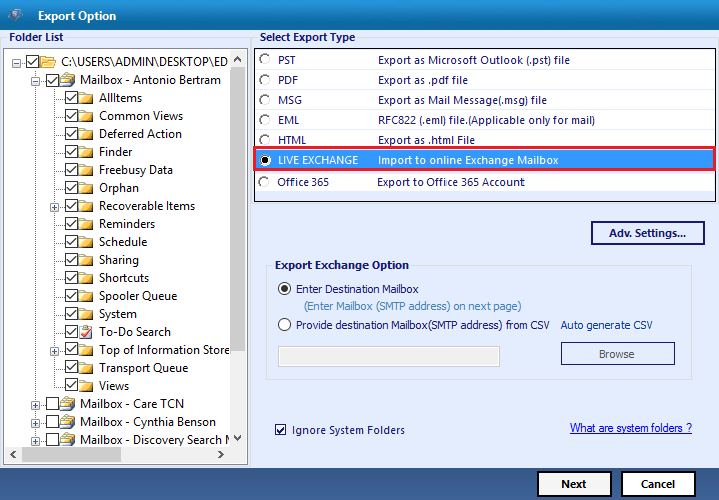
Step 12: Enter the same mailbox "Alias" name which you want to Export. Once you fill the valid mailbox name then click on "Export" option.
Note: Fill the valid "Alias" name of mailbox for migration and if you enter the invalid "Alias" name then the migration process will not be proceed.
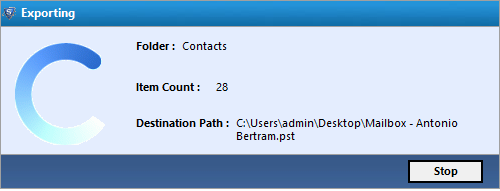
Step 13: Now migration status report appear on the screen.
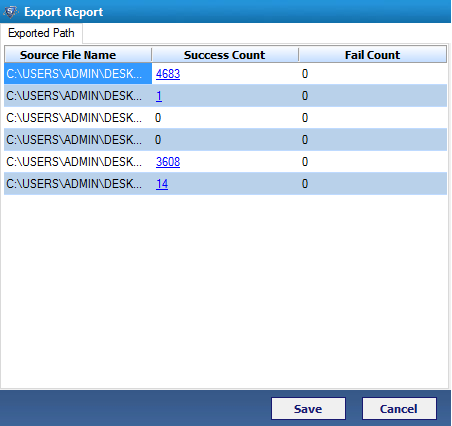
Step 14: Tool also generates the exported mailbox location report as CSV file format if you want to keep then click on "Save" button otherwise "Cancel".
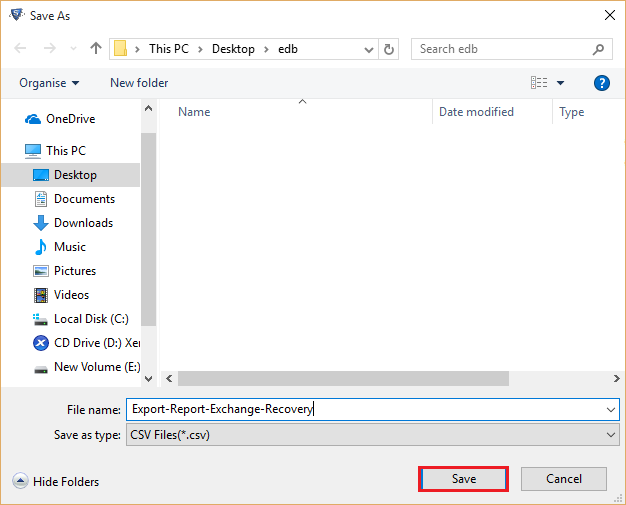
Step 15: Browse the folder path where you want to store .csv format file.
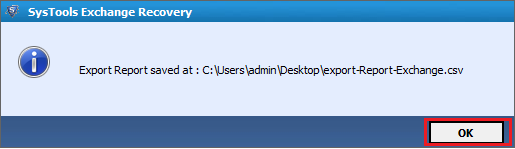
Step 16: Last window shows the location of stored csv file click on "OK"